Continuing from HERE.
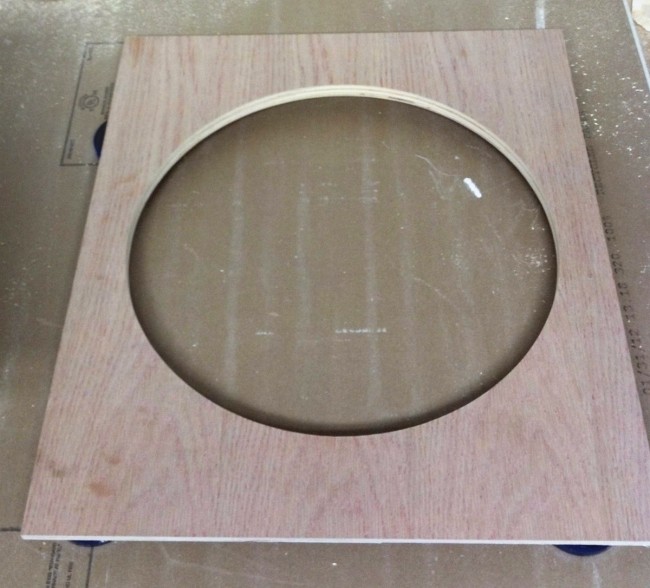
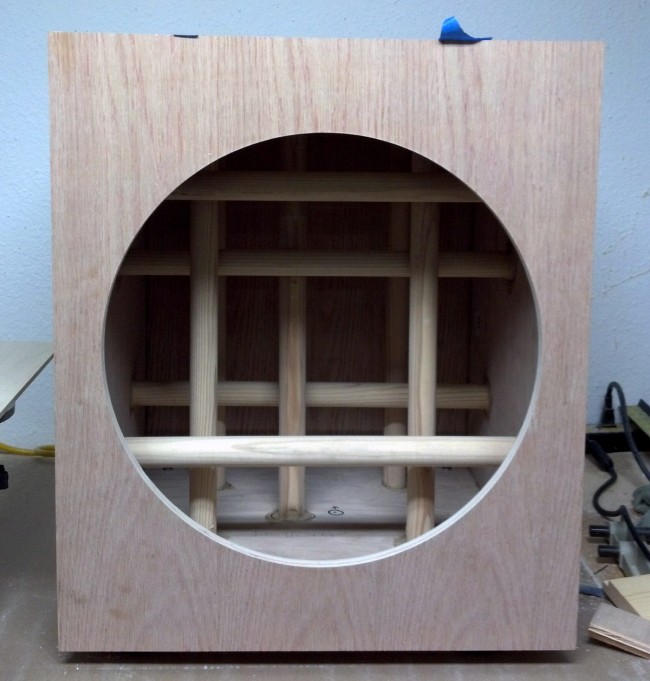
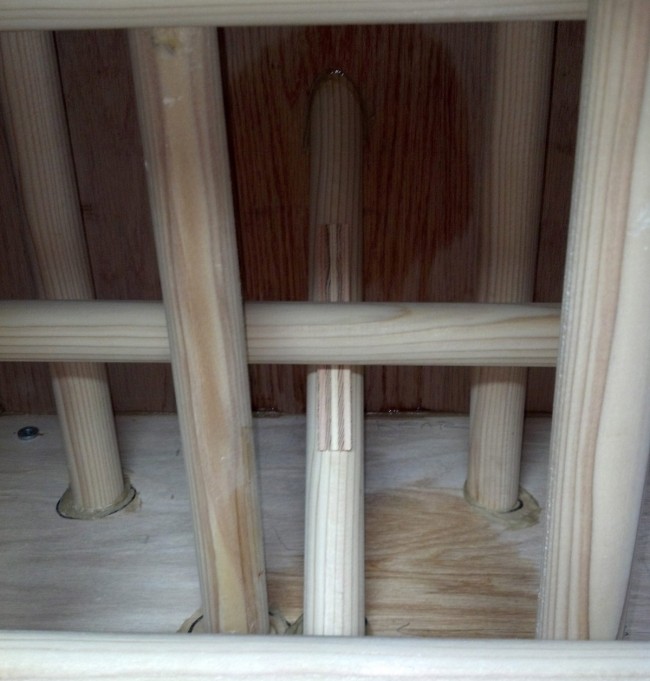
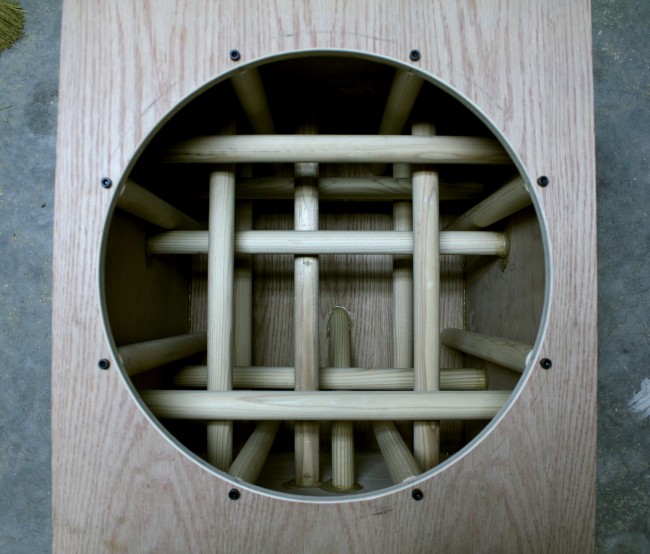
Final non-baffle dowel installed. The driver cutout for the baffle is complete. The next step is to work on the dowels that will tie the driver to the cabinet – I need to make a jig to drill straight 3/8″ holes in the dowels to receive the threaded inserts.
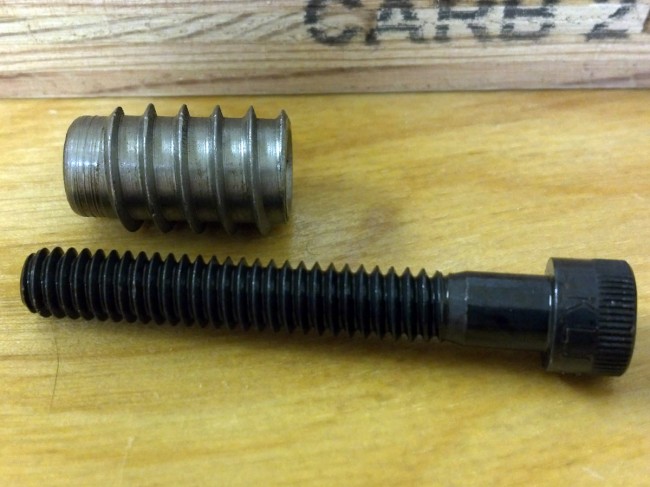
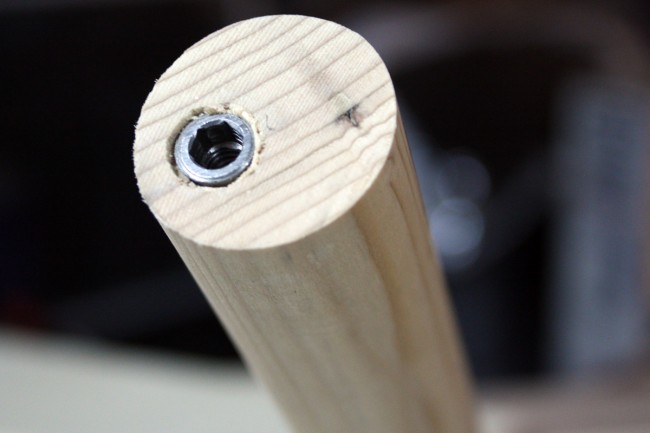
This is the bolt and threaded insert that will attach the driver to the baffle by way of the dowels that stretch from the baffle to the rear.
— UPDATE 12/19—
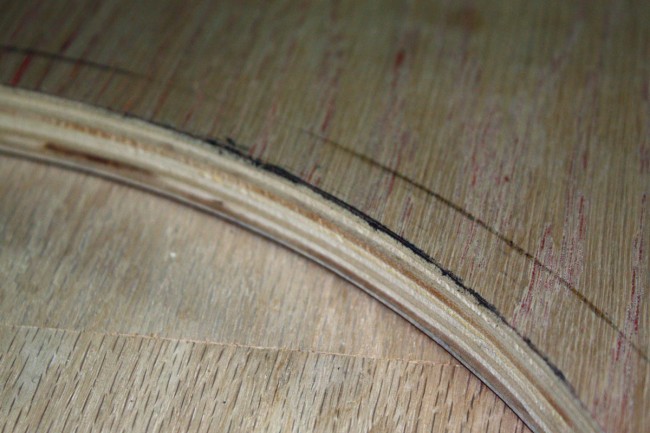
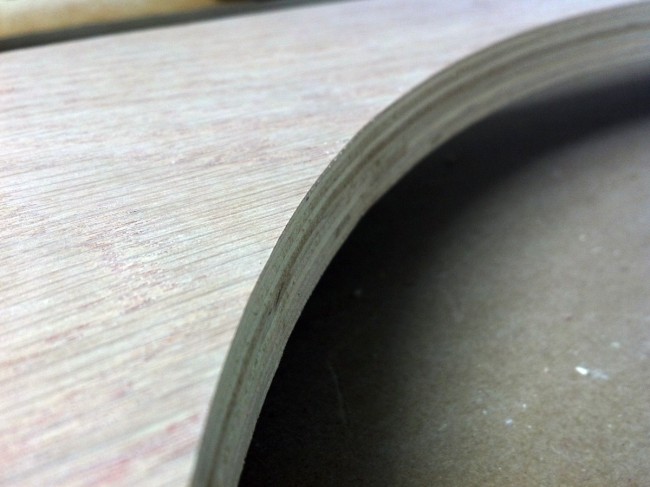
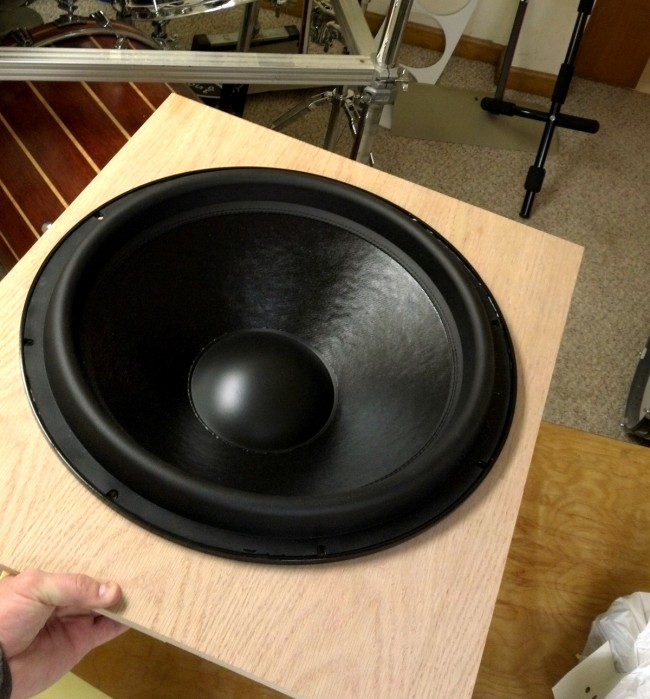
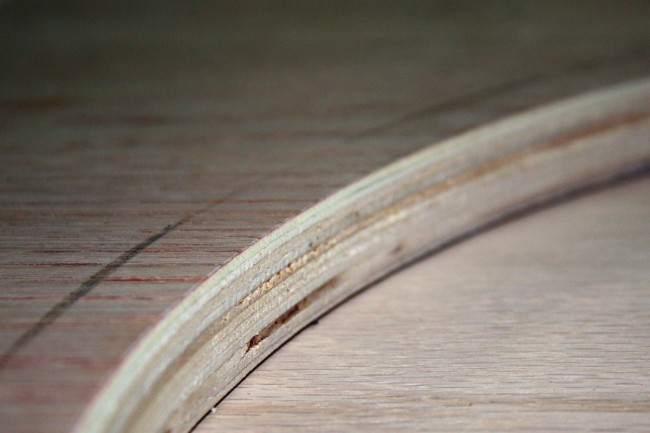
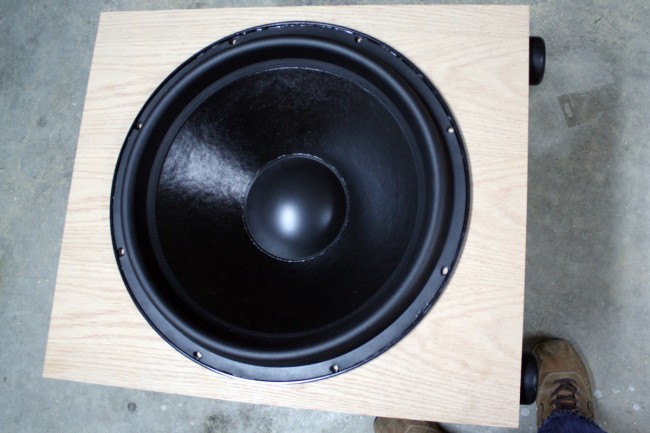
There was a little bit of rub on the baffle from the inside edge of the mounting flange. It made it just a little tough to turn as I was positioning the driver for marking the mounting holes.
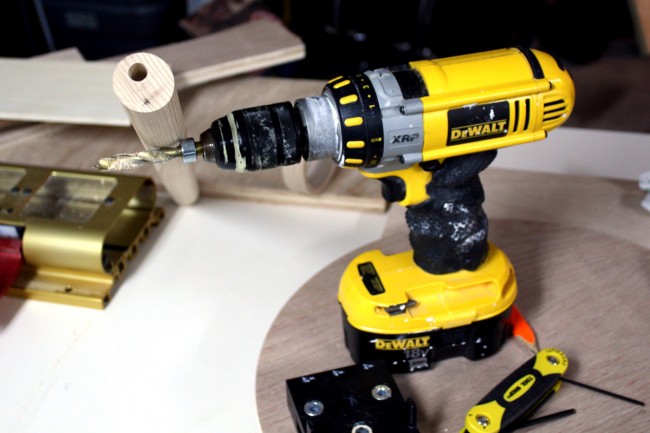
I wasn’t sure how I was going to do this – I had envisioned making some sort of captive sled for my drill which held the bit perfectly level, and a jig to hold the dowels, and a stop to set the depth… But then I remembered I had just bought a doweling jig recently and it would do just fine for this. First test with it was a keeper.
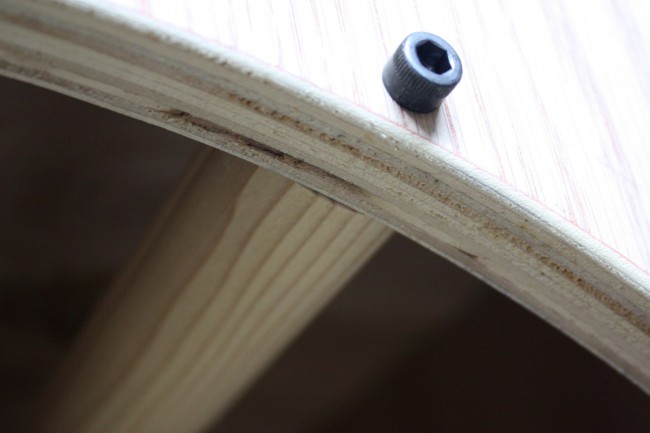
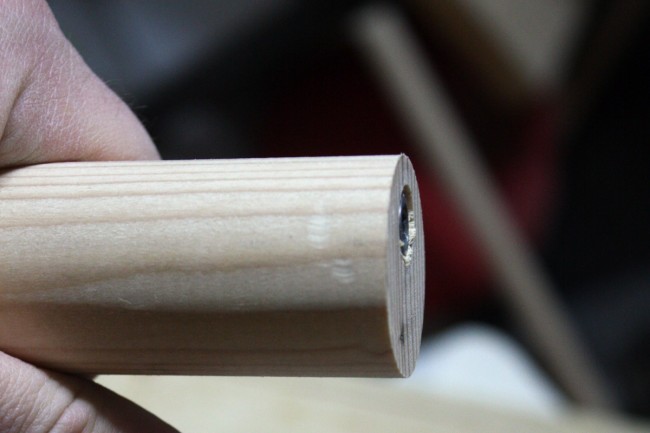
This is why the inserts are offset from the center of the dowels. Positioning it off to one side was the only way to avoid encroaching on the driver hole. The added benefit is that I can swivel it a little bit if a mounting dowel is too close to one of the internal dowels. Of course I had drawn it all perfectly, but I’m sure some of my dowels are not perfectly on the mark.
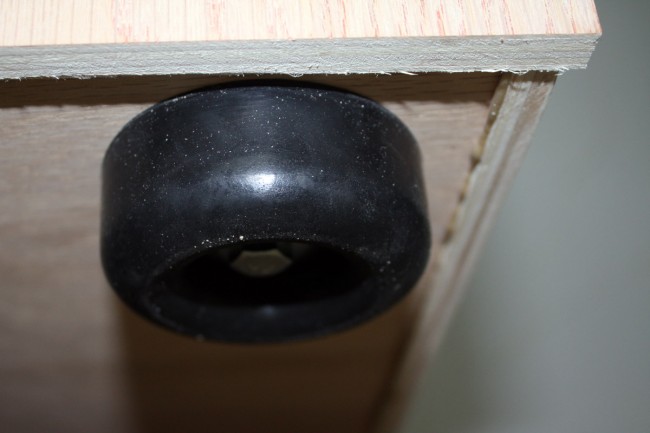
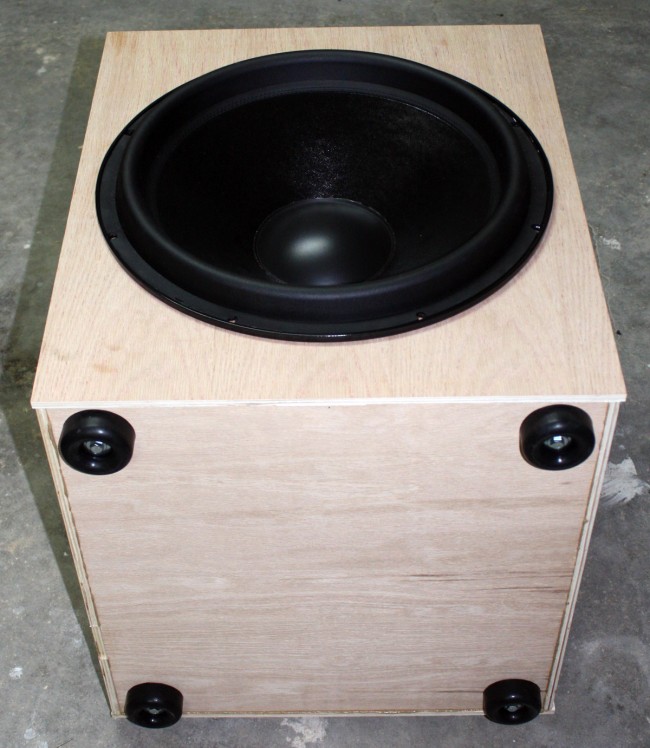
These are the feet I am using. They are Penn Elcom 9106 – 1″x2.5″ – massive feet. They feel like they could hold my house. They attach with 1/4-20 bolts to knock-in threaded inserts.
12/19 PM
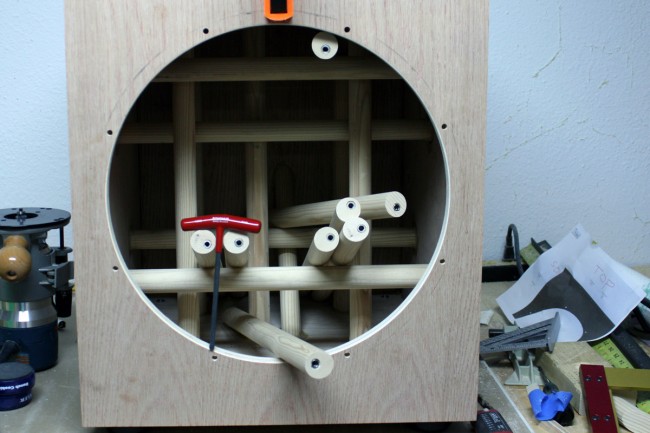
The rest of the dowels have been drilled and the inserts are installed. Two of the dowels may need to be sanded down a little bit at the top, as my un-centered hole may not have been un-centered enough. Should be easy though.
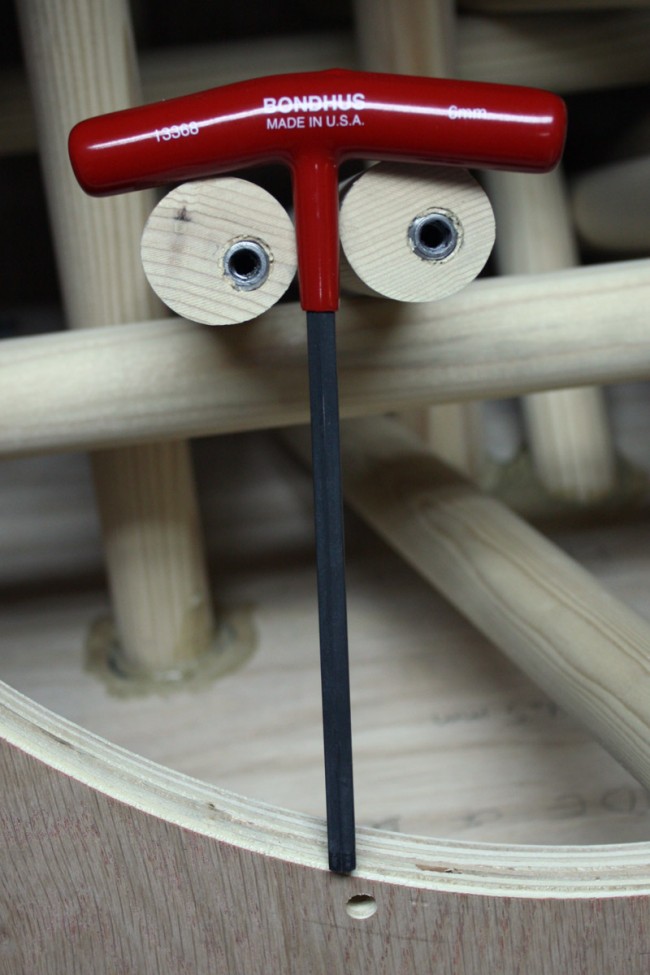
This was the real hero of the task. This is a Bondhus t-handle hex wrench. I had the foresight to avoid the common slot-driven threaded inserts. With the very coarse threads on the inserts, having proper leverage is key to installing them straight. Using the hex-driven inserts that I have with a commonplace L-shaped hex wrench would not be much easier. The t-handle wrench allowed for full exertion of force while threading.
This project is continued HERE.

Pingback: Stereo Integrity HT-18D2 [design/build] 1 of 2 | baniels.com | this is just a website.()
Pingback: Stereo Integrity HT-18D2 [design/build] 3 of 3 | baniels.com | this is just a website.()